Manually installing WordPress using FTP is also known as the famous 5 minute install. To install WordPress using FTP, you need to have a FTP software .
First thing you need to do is download the latest version of WordPress. Unzip the file, and use the FTP software to upload the files into your web host directory of your choice.
If you want to install WordPress in the main domain, then you want to install it in your /public_html/ directory. If you want it in a subfolder, then upload it in a folder /public_html/foldername/
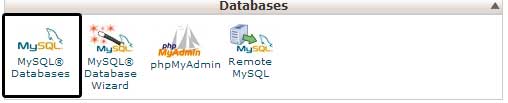
Once you are done uploading WordPress, go to your hosting control panel to create a database. We are using cPanel web hosting, so our screenshots will be of cPanel. In your cPanel, find the icon like this:
You will see a field to create a new database. Enter your database name, and click “Create Database”

Now that you have created your database, it is time to run the install. Go to the URL where you uploaded WordPress. If it is in the main domain, then you will simply go to yoursite.com.
You will see a page like this:

Click on the button to create the configuration page. The next screen will show you the information you need to have (database name, database username and password, database host, and table prefix). Simply click on the Let’s go button. Next you will see the form to enter all the information.

Once you enter the information, click on the submit button. It will take you the page that has the button to Run the Install. Click on it.

On the next screen, you will see the form to enter your website’s information. This information would be your site’s title, your username, password, and email.

Click Install WordPress, and you are golden. On the next screen, you will see the Success note with your username and password. Click on the login button and start writing.
Comments
0 comments
Please sign in to leave a comment.