
The Business Websites has made it very easy to manage your MSSQL databases by creating a server wide install of a tool called myLittleAdmin.
You can reach this interface at:
- DFW 1-1: https://mssql.dfw1-1.websitesettings.com/mla/
- DFW 1-2: https://mssql.dfw1-2.websitesettings.com/mla/
- ORD: https://mssql.ord1-1.websitesettings.com/mla/
NOTE: To find out if your account is located in our ORD or DFW datacenter, check the test link for your site. If your testlink includes dfw in the URL, such as www.domain.com.php5-2.dfw1-1.websitetestlink.com then your account is in DFW.
When logging into myLittleAdmin, you will need to make sure to select the correct server choice from the drop down menu. You can find the correct value within the control panel on the View Database page.
NOTE: Alternatively, you can use other programs such as Management Studio Express or Enterprise Manager to manage your MSSQL databases as well.
Logging Into MyLittleAdmin
- Login the the control panel, https://websitesettings.com
- Navigate to Website
- Click on the domain name that the database exists under
- Click on the Features tab
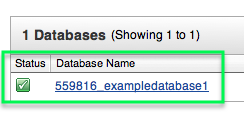
- Confirm that the database is active by scrolling to the Databases section; if the database is active it will display a green check mark icon in the status column as shown in the following figure:
To start working with this database, you will need the Hostname, username and password. The details can be viewed by clicking on the hyperlink for the database, which results in a page that will display this information.
- The Server Name is listed as Hostname under the Database Information section.
- The Login is the username.
NOTE: The usernames are listed under the Database Users section; by default there is only one user and this would be the username you would use to login to myLittleAdmin. If there are multiple users listed, you may login with any of them. The number that prefixes the username is the account number for the website owner (yourself or your client) and is important when logging in, so be sure to enter the username exactly as it is listed on this page.
- The password is the password associated with the database user, which would have been chosen when you created the database and database user.
NOTE: Because this user is separate from your control panel account and FTP users, the password may or may not be the same as those users. If you cannot remember your database password you can reset the password by clicking on the user in the list and filling out the password form; however, please be aware that your website code may rely on the existing password, so changing the password for a database user could cause database connection errors on your website! If you are working with a live website and cannot risk this password reset, please contact a web developer for assistance.
With the above information, you're ready to start working with the database.
- To do so, click on the Online Manager link
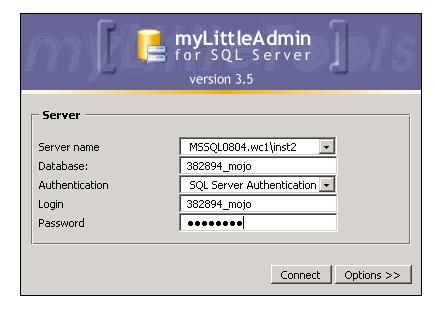
- A myLittleAdmin interface will display in the browser. Select the correct Server Name--which is the Hostname from the details page, as outlined above--from the drop down list.
- Enter the database name (including the numbered prefix as shown below)
- Enter the login--which is one of the Usernames from the details page, as outline above--(including the numbered prefix as shown below)
- Finally, enter the password for this database user and click Connect
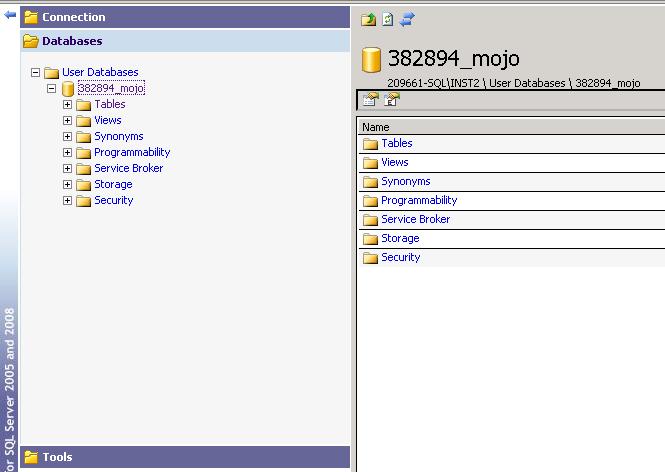
Now that you're logged into myLittleAdmin, you can manage your MSSQL database as necessary.
Backing Up Your MSSQL Database
- After you are logged into the online manager, click on Tools in the bottom of the left frame.
- Then on the Tools menu, click Database Backup and Restore.
This will open the myLittleBackup interface in a new window: - From myLittleBackup, click on Backup databases from the left menu.
The database backup form will load in the window's right frame. - In step 1, choose the database you would like to backup from the drop-down menu (which should be the only one listed) and click OK to continue.
- Step 2 is just for information and verification; you will find generic information about your database in this step. Keep in mind that the backup process duration depends on the database size you see in this step. Since you only have one database you can just click OK:.
- Note: If you see the notification (There are too many backup files in your backup folder), it means you all ready have a backup file saved in myLittleBackup.
- Step 3 is optional, but feel free to choose a backup set name and description.
If you don't want choose a backup set name and description or you're not sure what to use, just leave it blank or use the database name as both! - If everything above looks correct, you're ready to click the Backup button in Step 4.
During this time you will see a loading message on the screen. Please take heed of the warning myLittleBackup gives: You're now ready to backup your database. The process can take several minutes. Be patient and do not click the stop button until done.
Comments
0 comments
Please sign in to leave a comment.